How to Create your First Article with Rusher.AI
Hey there!
Ready to whip up some killer written content using Rusher.ai? Awesome!
Whether you’re a seasoned marketing pro or a total newbie, we’ve got you covered with this step-by-step tutorial. So, slip into your comfy chair, grab a cup of coffee (or tea, if that’s your thing), and let’s dive right in!
Step 1. Clicking the Big “Get Started For Free” Button
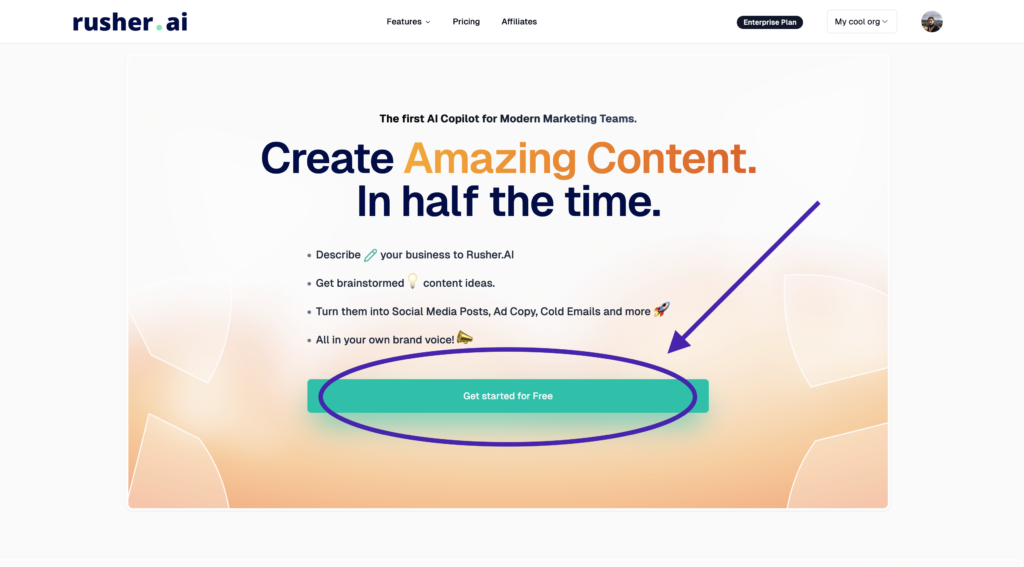
Alright, first things first. Head over to the Rusher.ai homepage. You’ll notice a massive “Get Started For Free” button glaring at you—go ahead and click it. This magical button is your gateway to a world of effortless content creation.
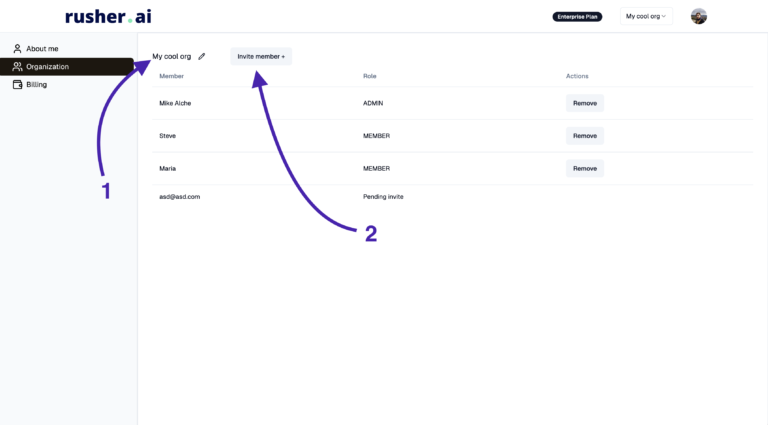
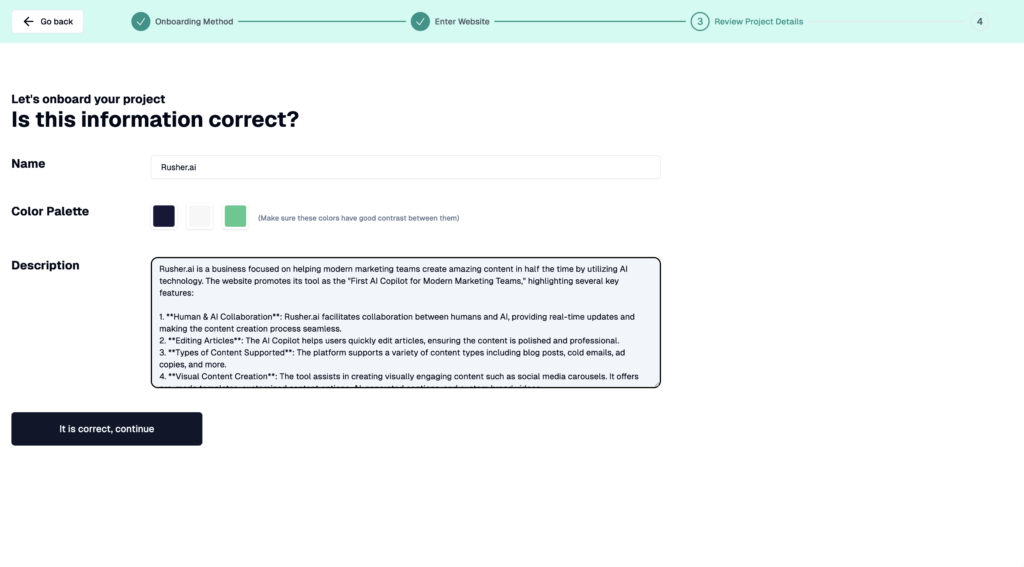
Step 2. Onboarding Your Project
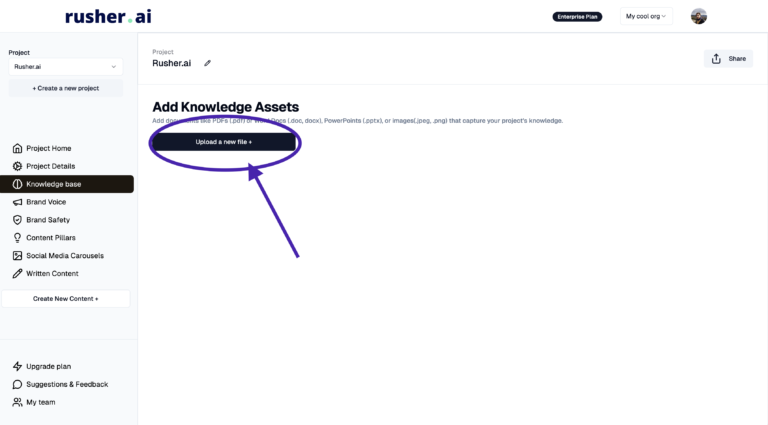
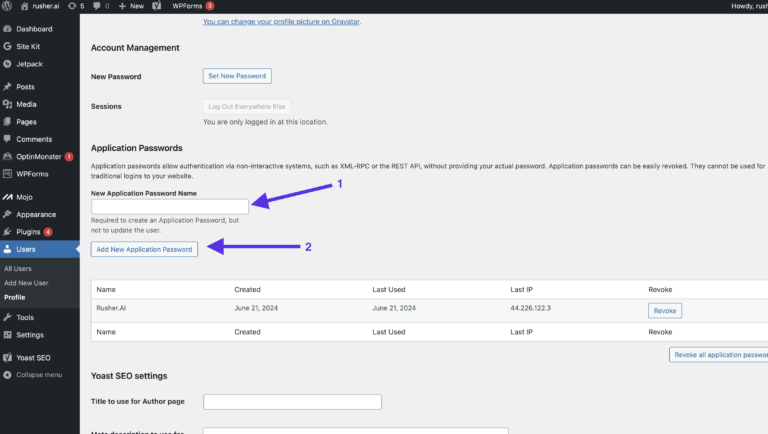
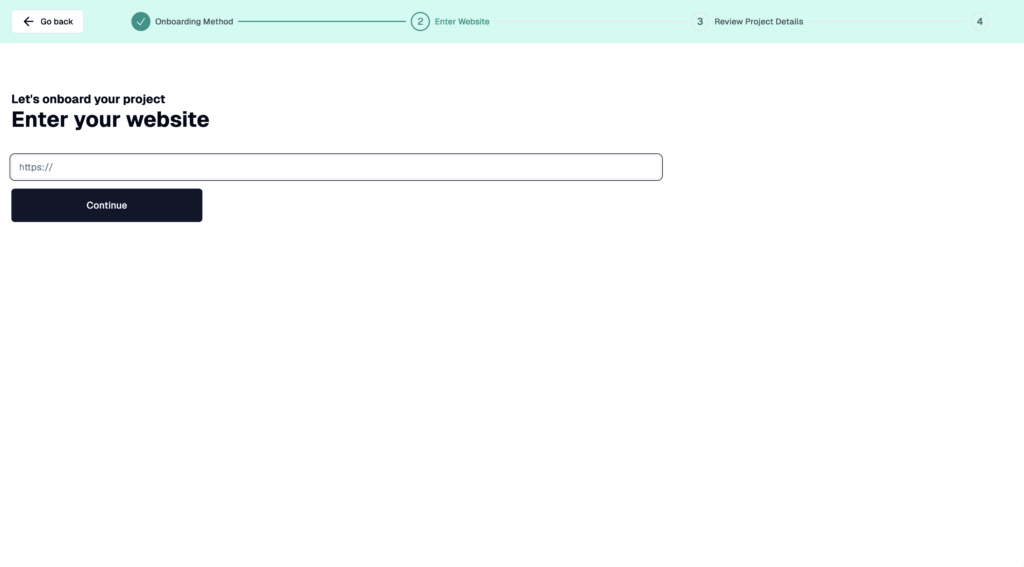
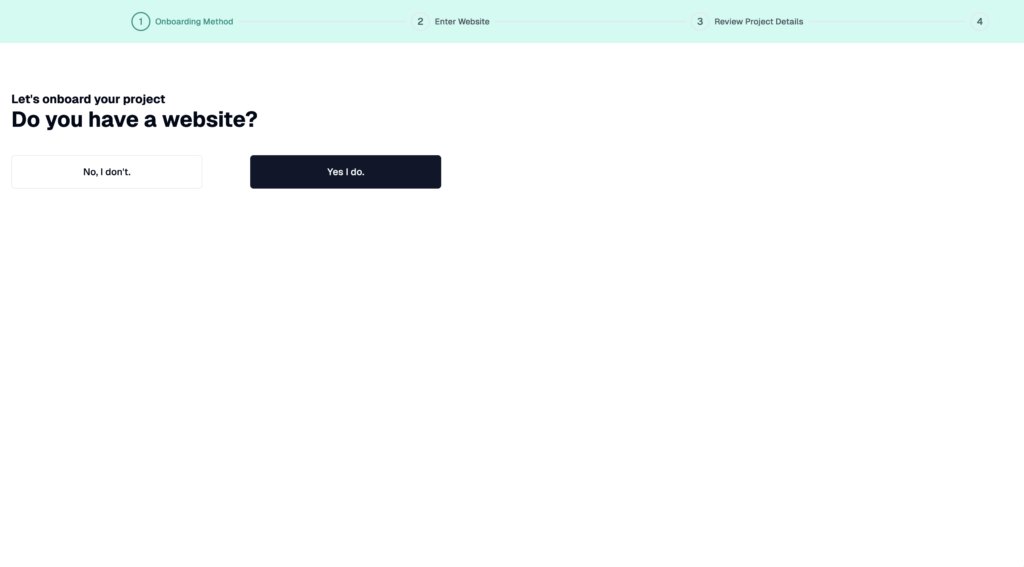
Now that you’re in, it’s time to onboard your project. If you have a website, our savvy AI scraper will do the heavy lifting for you. It’ll go through your site, absorb all the juicy details about your business, and understand what you’re all about. Don’t have a website? No worries! Just fill in your project details manually. Be as detailed as possible in the project description field—this will help Rusher.ai personalize your content accurately.
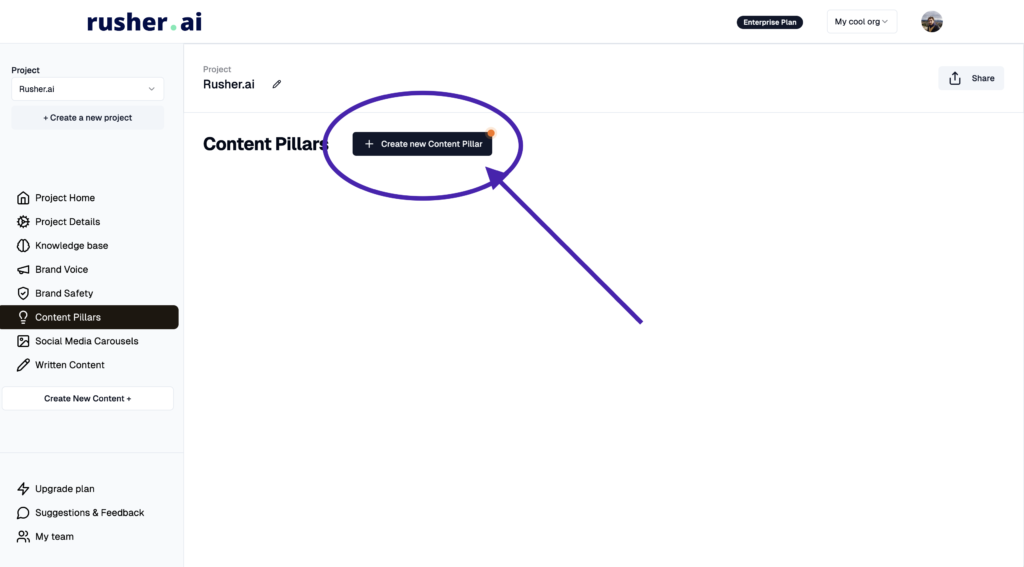
Step 3. Exploring the “Content Pillars” Section
Once you’ve set up your project, you’ll be directed to the “Content Pillars” section. If you’re scratching your head, wondering what content to create, this is where Rusher.ai becomes your idea-generating soulmate. The AI will generate content ideas based on the information you provided. Got your own ideas brewing? Awesome! This tool will help you enhance and organize them.
Placeholder image: Screenshot o
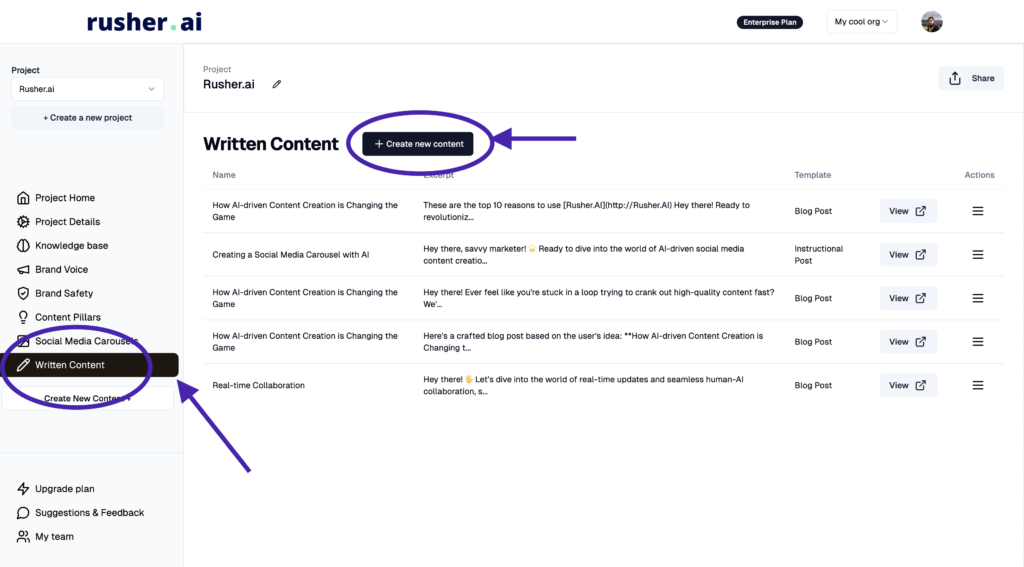
Step 4: Navigate to “Written Content”
Got your ideas sorted? Sweet! Next up, head over to the “Written Content” section. Click on “Create new Content” to start your masterpiece.
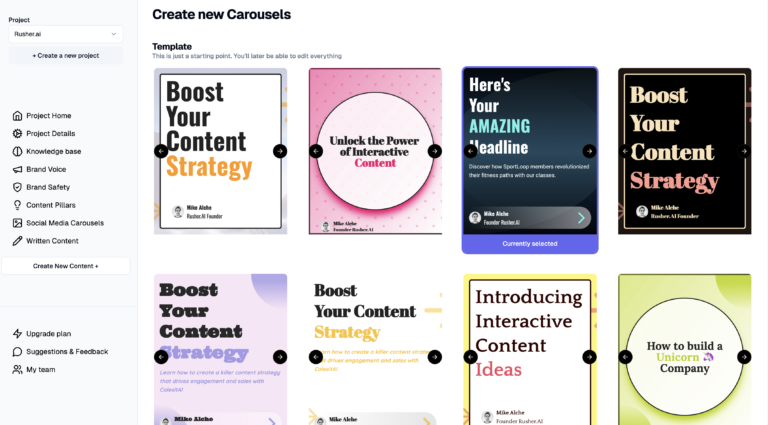
Step 5: Choose an Article Template
Here’s where the fun begins. First, you’ll need to choose a template for your article. Rusher.ai has a treasure trove of categories to pick from. Here’s a sneak peek:
- Advertising
- Audio & Video
- Blog
- PR
- Product
- Sales
- Social Media
- Tools
- Website
Each category is packed with numerous options to fit your needs perfectly. Remember, choosing the right template sets the tone for your content, so choose wisely!
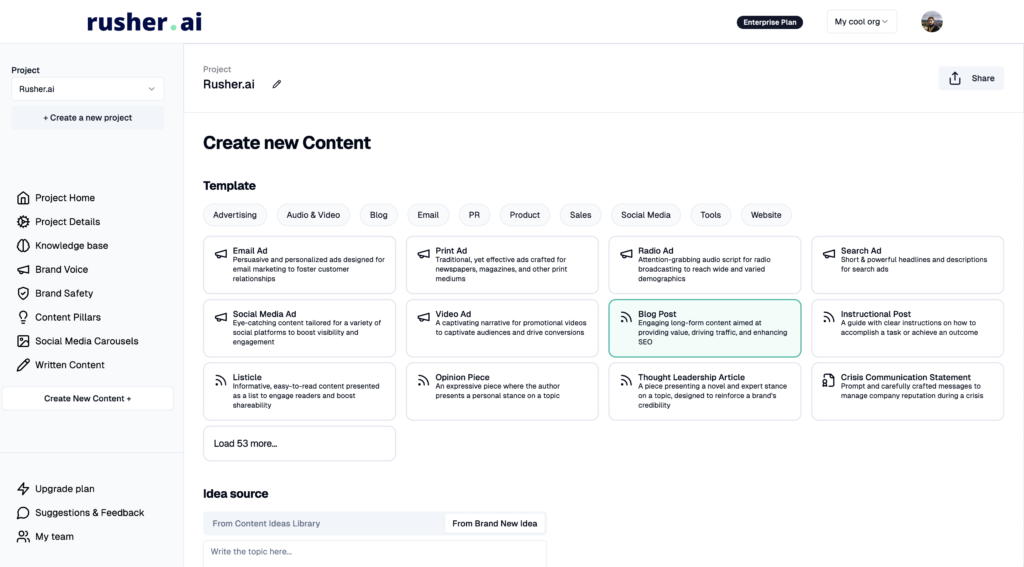
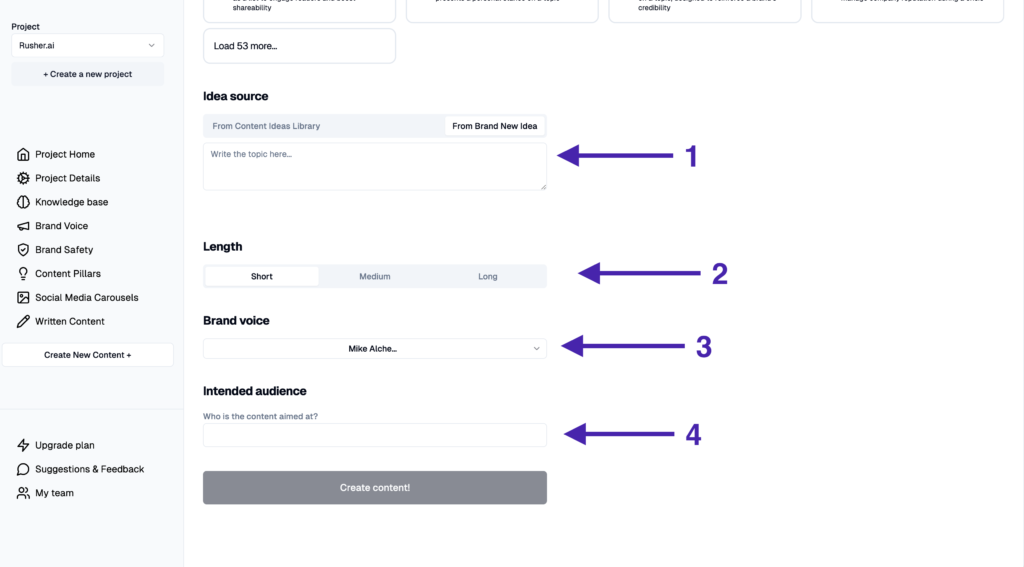
Step 6: Idea Source & details
Once you’ve picked your template, you’ll need to choose the source of your idea. Here, you have two options:
- AI-Generated: Let the AI brainstorm for you.
- Your Creation: Use one of your own ideas.
Now, it’s time for some personalization:
- Length of the Article: How long do you want your piece to be? A quick read or an in-depth guide?
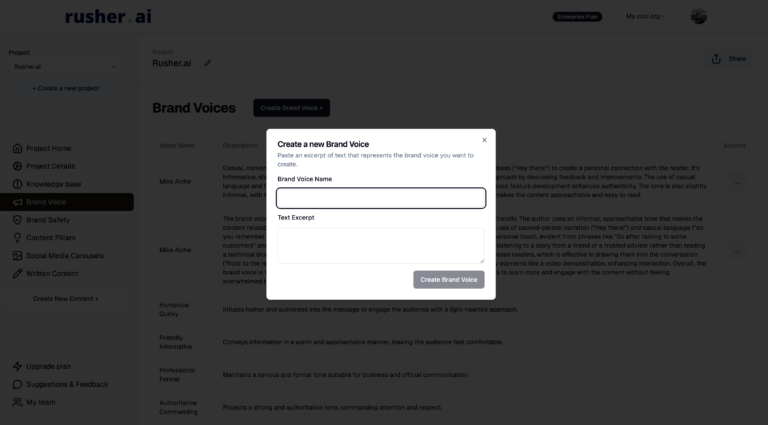
- Brand Voice: What kind of tone do you want? Friendly, professional, quirky? You name it.
- Intended Audience: Who are you speaking to? Tailoring your content to your audience is key to making it resonate.
Step 7: Hit “Create”
Drum roll, please… Once everything is set, hit “Create.” Sit back and watch the magic unfold. The AI will work its wonders and generate a piece of content that’s tailored to your specifications.
Step 8: Editing (Coming Soon)
In another article, we’ll go over how to make edits to your content—because let’s face it, even the best first drafts can use a little polishing.
Wrapping Up
There you have it! Your very first written content using Rusher.ai. Simple, right? Remember, the more you play around with the tool, the better you’ll get at navigating its features and fine-tuning the content to your liking.
Got questions or need further assistance? Don’t hesitate to reach out to us. We’re all ears and here to help you craft the perfect content.
Happy writing!🚀